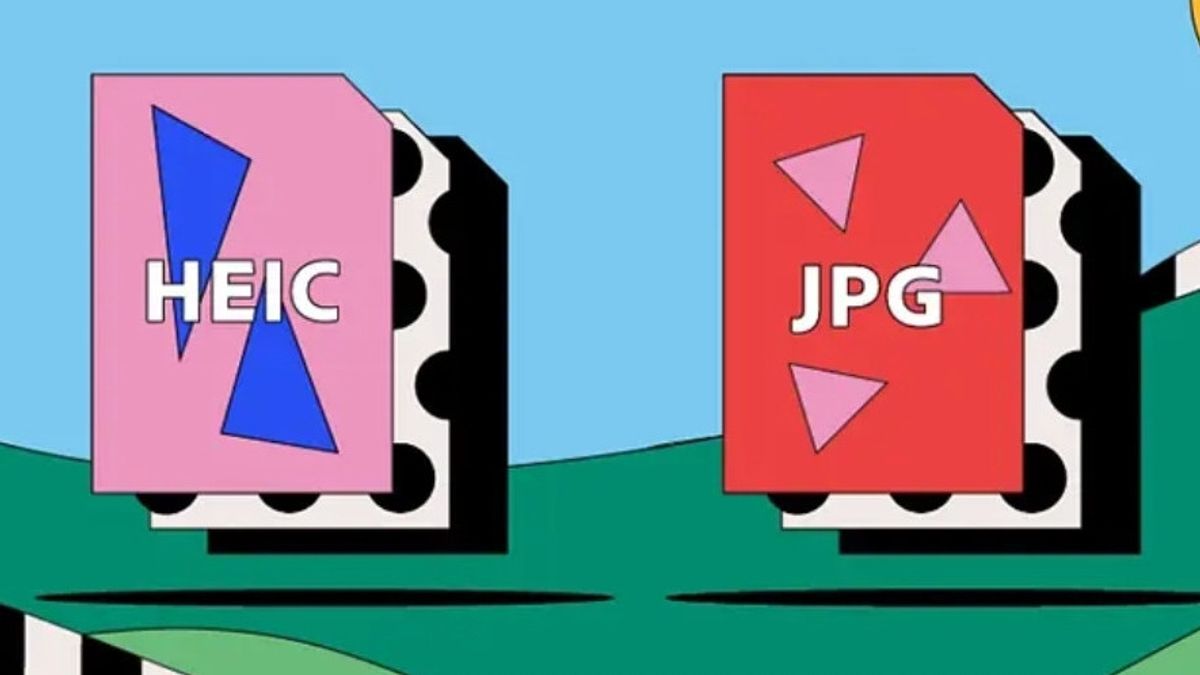


JAKARTA Before iOS 11 was released, the default image format on Apple devices was JPG. However, in recent years, this format has changed to HEIC because of its smaller size.
HEIC is a high-quality image format that matches the iPhone camera. This image format is unusual because the majority of phones use JPEG or JPG formats. If you are interested, you can change the format.
You can adjust the format directly via iPhone. If you've moved all the images to Mac, you can still do it. Here's how to change the HEIC format to JPG on Mac, citing from How to Geek.
Conversion Of HEIC Image To JPEG
Before changing the format, make sure you have align the Photo app with iCloud or have moved the photo manually from the iPhone. After that, look for the image you want to change, then drag or move it to the desktop.
SEE ALSO:
-
 | TEKNOLOGI
Instagram Luncurkan Fitur Praktik Terbaik untuk Dukung Kreator Berkembang
02 Oktober 2024, 14:34 -
 | TEKNOLOGI
Aplikasi Alternatif YouTube 'Juno' Dihapus dari App Store Vision Pro
02 Oktober 2024, 13:30


When you drag the photo directly to the desktop, the image format will immediately turn into JPG. If the user wants to see the JPG format in the library, you just need to drag the file back to the Photo app and delete the file with the HEIC version.
This method is a bit complicated because you have to move the photo to the Photo app first and move it again. If you don't want to do this method, you can immediately move the photo into the folder on the Mac.
After that, select the desired photo, it can be one or more, then right-click on the photo. When the pop-up menu appears, look for Quick Action, then select Conversion Image. In an open window, you can select the JPG format, then confirm by clicking Converts.
The English, Chinese, Japanese, Arabic, and French versions are automatically generated by the AI. So there may still be inaccuracies in translating, please always see Indonesian as our main language. (system supported by DigitalSiber.id)


