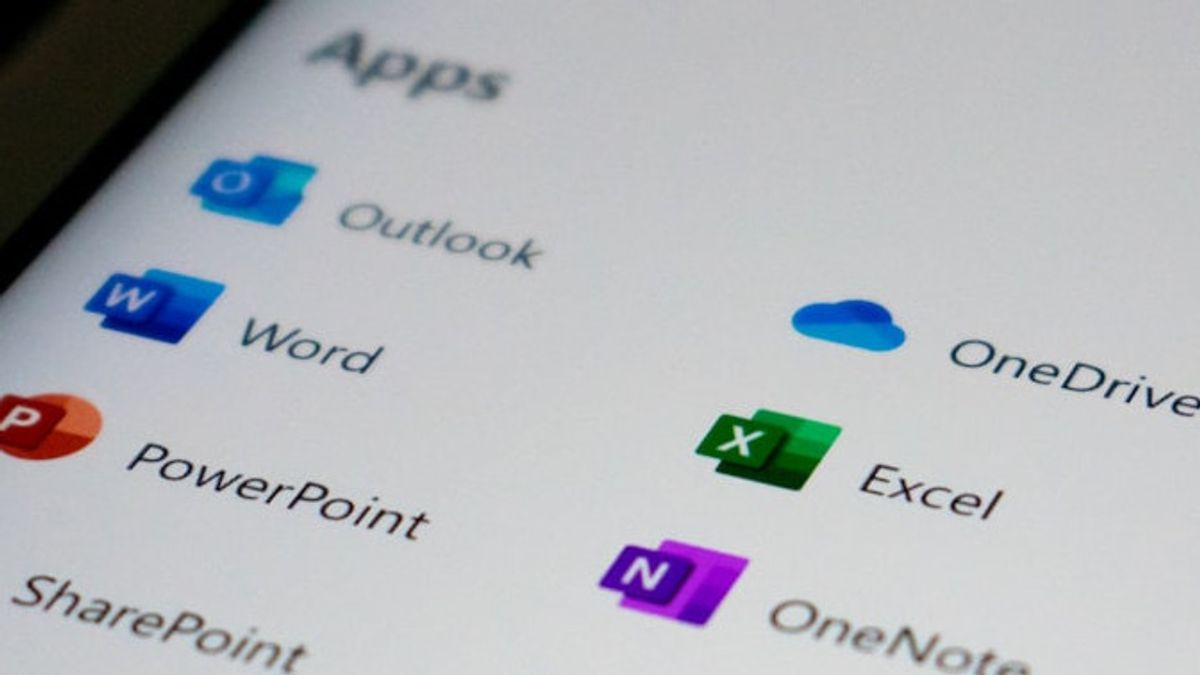


JAKARTA When using the Word and Excel applications, you must realize that the first font that is displayed will always be the same. This happens because Microsoft has set the built-in font for its application.
However, if you like certain fonts, you can set them as font defaults so you no longer need to set the font you want to use. Here's how to change the font default in Word and Excel, citing from How to Geek.
Change Default Font in Word
How to change the default font in Microsoft Word is not too difficult. You just need to open the app, then click the box launcher icon in the lower right corner of the Font group. After that, the Font window will appear.
Next, select the Font you want by scrolling down the screen, then select also the style, size, and color you want to automate. Next, tap the Settings option As a Default in the lower left corner of the window.
After that, select the All Documents Based on Google Normal, then tap OK. After you close the application and open it again, you will see the font, style, and size of the text you selected earlier.
SEE ALSO:
-
 | TEKNOLOGI
Kinerja iPhone Jadi Lambat Saat Mode Daya Rendah Aktif, Ini Penyebabnya
18 Februari 2025, 14:05 -
 | TEKNOLOGI
Eropa Latih Astronot Disabilitas Pertama untuk Terbang ke Luar Angkasa
18 Februari 2025, 12:35


Change Default Font In Excel
Changing the default font at Excel is also not difficult. You need to open the application first, click the File part, then select the Option. You can also use Alt + F + T quick shortcuts.
Next, tap the General tab, then look for the section Use this As an Font. Select any font you want, also set the built-in font size. After that, click OK in the lower right corner of the window to set it.
The English, Chinese, Japanese, Arabic, and French versions are automatically generated by the AI. So there may still be inaccuracies in translating, please always see Indonesian as our main language. (system supported by DigitalSiber.id)
Most Popular Tags
#Prabowo Subianto #donald trump #2026 World Cup #Febrie Adriansyah #8791Popular


