YOGYAKARTA – Updating applications is one of the most important things that a smartphone needs. The reason is, it can protect the device from malware, adsware, viruses, and other digital threats.
Each update usually comes with new features as well as fixes to a number of bugs, security holes, and errors found. And if you often forget, there's an auto-update feature you can take advantage of.
As we can deduce from the name, the Automatic Update feature works to make the operating system download every latest version available on the app store. That way, those of you who are easily negligent and forget to update will certainly be helped.
However, there is one problem that many devices experience. That is when the Automatic Updates feature is not running. And if that happens, the update automation function will not work properly.
To help readers overcome the failure of automatic updates on Android applications, the VOI team has summarized several steps you can take. Just check through one of the following steps.
Check Internet ConnectionA poor or unstable internet signal can cause automatic updates to not run. Therefore, you need to check how strong the network is connected to the device. Both mobile data network and Wi-Fi.
After confirming that your connection is not the cause, it's time to change the settings when downloading the update. Change it so that the update can only run when the phone is connected to Wi-Fi. Apart from saving cellular data, Wi-Fi also provides a faster and more stable connection.
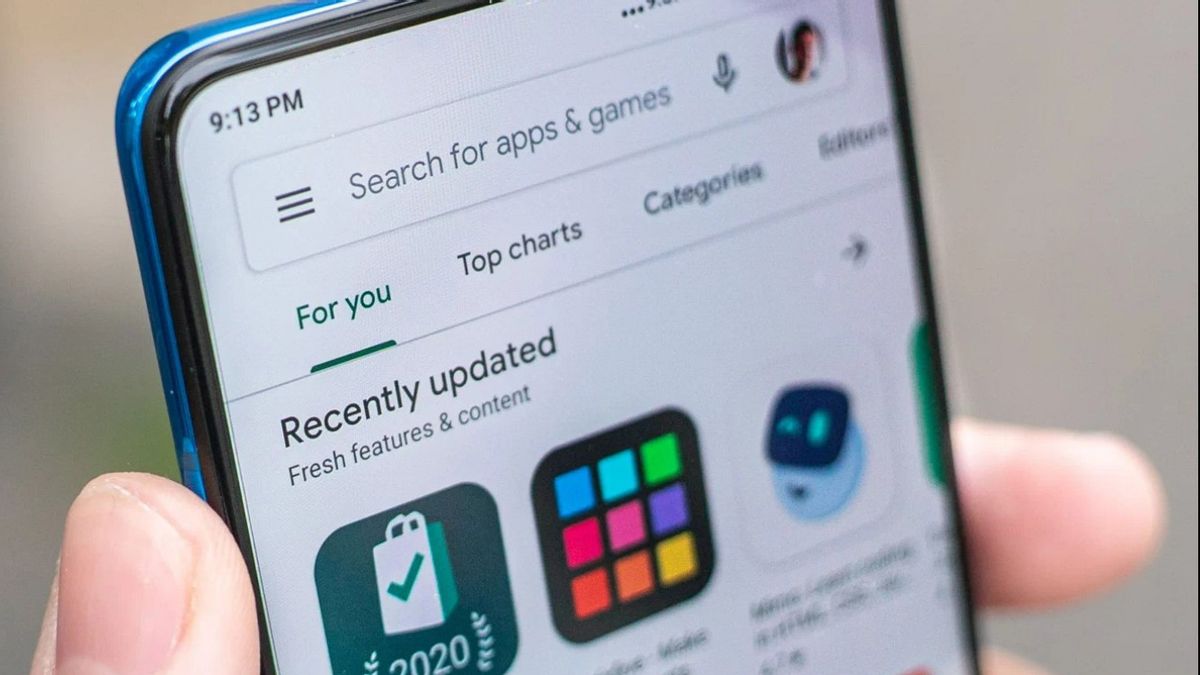
To change settings, first open the Play Store app. Next, open the Settings menu, then select Network Preferences. Then, tap the Auto Update menu.
Check Time and Date SettingsIt may sound trivial, but it is equally important. If the time and date settings on your phone are not updated, some Android services cannot be used. Besides failing to auto-update apps, you also can't open the Play Store!
The reason is, the wrong time and date can make Google's servers fail to synchronize with the device. It's easy to change the time and date settings. Open the Settings app, select the Additional Settings menu, then tap Date and Time.
Clear Cache FilesThe last obstacle that often causes automatic updates to fail is cache files that accumulate. The Play Store creates cache files to alert you when there's a new version of an app and make services run faster. However, having too many cache files can cause service disruptions. One of them automatic update failed. Therefore, you need to clear cache files from time to time.
To clear the Play Store cache files, go to Settings then tap the Application Management menu. Next you will see the Application List. Find the Play Store app, then tap the app icon. Finally, tap the Data button, then tap Clear Cache or Clear Data.
After the description to fix failed automatic app updates. If you are facing this problem, immediately run one of the steps above.
The English, Chinese, Japanese, Arabic, and French versions are automatically generated by the AI. So there may still be inaccuracies in translating, please always see Indonesian as our main language. (system supported by DigitalSiber.id)


