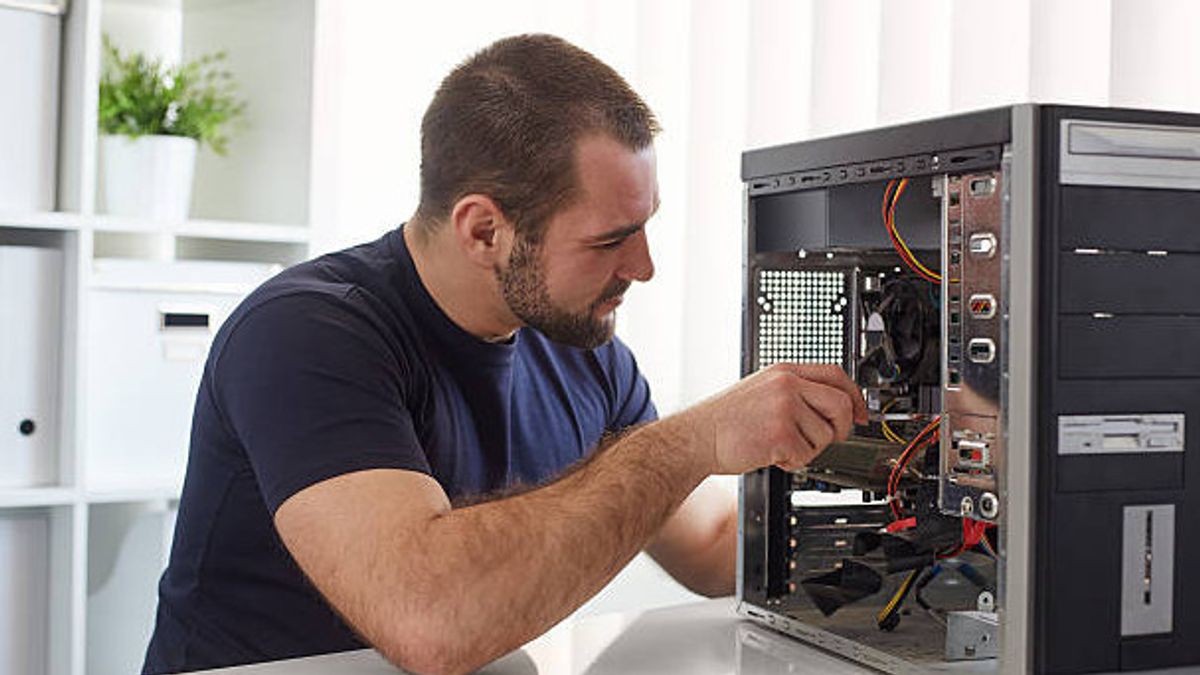


JAKARTA - Installing a PC computer from scratch can be a challenging process, especially if you have no prior experience. However, with the right guide, you can easily perform the installation and optimize your computer's performance.
Here is a complete guide on how to install a PC from scratch, step by step.
Preparation
Before you start the installation, make sure you have all the required components. This will ease you in the installation process and avoid unwanted problems in the future. Some of the components you need to prepare are:
- Motherboards
- Processor
- RAM
- Hard drive or SSD
- Power supply
- Case
- Monitor, keyboard, and mouse cables
- Tools such as screwdrivers, pliers, cable scissors, and others.
Also make sure that all the components you buy are compatible with each other. You can find more information about this on the hardware manufacturer's website or contact the technical support team.
After you have all the components and tools needed, clean the workbench from dust and dirt so it doesn't interfere with the installation process.
Steps
- Plug the Power Supply into the Casing
The first step you have to do is install the power supply into the casing. Usually, the power supply is placed at the bottom of the casing. Make sure the power supply cables are properly connected to the motherboard, hard disk, and other devices. Also, make sure that the power supply is firmly installed in the casing.
- Install the Motherboard into the Casing
After the power supply is installed, the next step is to install the motherboard into the casing. Place the motherboard on the base provided on the casing, then install the screws to secure the motherboard. Also, make sure that the motherboard is securely attached and not wobbling inside the case.
- Plug the Processor into the Socket
The next step is to install the processor into the socket provided on the motherboard. Make sure the processor is properly installed and secure. Before installing the processor, make sure the socket is clean from dust and dirt. Don't forget to lock the socket after the processor is installed properly.
- Install the RAM into the RAM Slot
After the processor is installed, the next step is to install RAM into the RAM slot provided on the motherboard. Make sure the RAM is inserted properly and tight. Don't forget to lock the RAM slot after the RAM is installed properly.
- Install the Hard Disk or SSD into the Hard Disk Frame
After the RAM is installed, the next step is to install the hard disk or SSD into the hard disk frame provided on the casing. Make sure the hard disk is properly installed and secure. Don't forget to connect the SATA cable from the hard disk to the motherboard.
- Plug in a Graphics Card, Sound Card, or Other Device
If your computer requires a graphics card, sound card, or other devices, install these components into the available slots on the motherboard. Make sure the device is properly installed and secure. Don't forget to connect the cables from the device to the motherboard.
- Install Cables
After all components are installed, connect the cables from the monitor, keyboard, mouse, and other devices to the computer. Make sure the cable is properly connected to the appropriate port on the motherboard.
- Turn on the computer
After all the components are connected, turn on the computer and enter the BIOS. BIOS is the basic system setting that allow you to configure computer hardware. To enter the BIOS, press the appropriate key that is displayed on the computer screen the first time it is turned on.
SEE ALSO:
-
 | TEKNOLOGI
Rencana Label Keamanan Uni Eropa Dikritik oleh Kelompok Lobbying Teknologi
07 Maret 2023, 08:05


- Install Operating System
Once the BIOS is configured, you can install the operating system. To install an operating system, insert the installation media into the computer, boot the computer from the media, and follow the onscreen instructions. Make sure you install the necessary drivers and software after the operating system is installed.
- Computer Performance Test
After the installation is complete, perform a computer performance test to ensure all components are functioning properly. You can use benchmark software or perform some common tasks like running programs, browsing the internet, and so on.
Conclusion
Installing a PC computer from scratch can be a challenging process, but with the right guidance, you can easily install your computer and optimize its performance. Make sure you have all the components and tools needed before starting the installation, and follow the steps carefully.
After the installation is complete, test the performance of the computer to ensure all components are functioning properly. By carrying out the installation process properly, you can have a computer that works optimally and can be used for various tasks. This is a tutorial on installing a computer extracted from VOI from various sources.
The English, Chinese, Japanese, Arabic, and French versions are automatically generated by the AI. So there may still be inaccuracies in translating, please always see Indonesian as our main language. (system supported by DigitalSiber.id)


