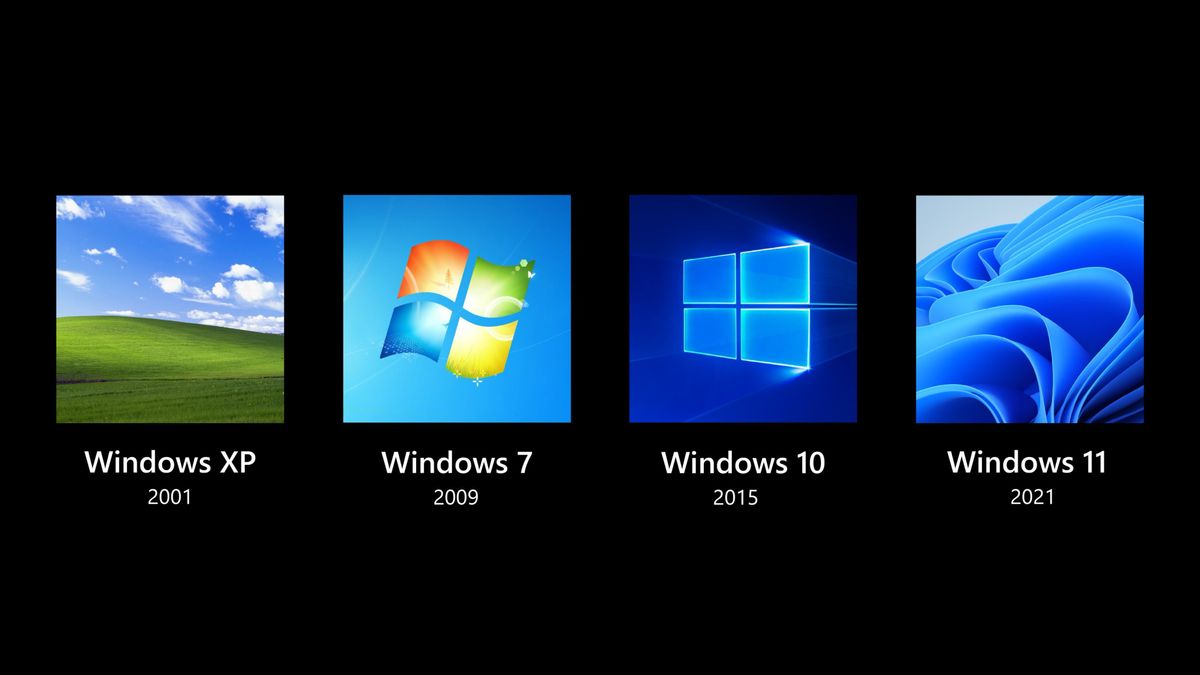
Windows 11 recently launched and some users may find it difficult to install Android apps on their devices. One solution to this problem is to install the Google Play Store in Windows 11. Here are the steps to install the Google Play Store on Windows 11:
Step 1: Download the First Android emulator, you need to download Android emulators for Windows 11. Some of the popular Android emulators options you can use are Bluestacks, NoxPlayer, and LDPlayer.
Step 2: Android emulator Install After you download your selected Android emulator, install the emulator in Windows 11. Follow the installation guidelines provided by the emulator.
Step 3: Download Google Play Store When Android emulators are installed, download the Google Play Store APK from Google's official website. Make sure you download the correct APK file according to the version of the Android operating system used by the emulator.
Step 4: Install Google Play Store in Android emulators After you successfully download the Google Play Store APK, open the Android emulator and select the APK file to start the installation process. Once the installation is complete, open the Google Play Store and log in with your Google account to start downloading the Android app in Windows 11.
In some cases, it may be necessary to configure Android emulator settings to allow access to the Google Play Store. Make sure to enable the "Unknown Sources" option in the emulator settings and allow access to Google Play Services.
By following these steps, you can easily install the Google Play Store on Windows 11 and start accessing thousands of Android apps available in app stores. However, make sure to always download apps from trusted sources and follow the security measures suggested to protect your devices from security threats.
The English, Chinese, Japanese, Arabic, and French versions are automatically generated by the AI. So there may still be inaccuracies in translating, please always see Indonesian as our main language. (system supported by DigitalSiber.id)


