

YOGYAKARTA - One of the effective solutions to protecting your favorite motorbike is to install a GPS tracker. It looks like a cheap solution, unfortunately not many people really understand how to install gps on a safe motorbike.
In this article, we will discuss in full how to install a safe GPS that is not detected by thieves. By following this guide, you can sleep well without worrying that your bike is missing.
Reporting from the PAJ GPS page, there are several things you need to pay attention to when installing GPS devices on your bike, as follows:
The first step, after you have purchased a GPS tracker, is to activate it. For that, before installing a tracker on your motorcycle, make sure the tracker has been activated and configured properly according to manufacturer instructions.
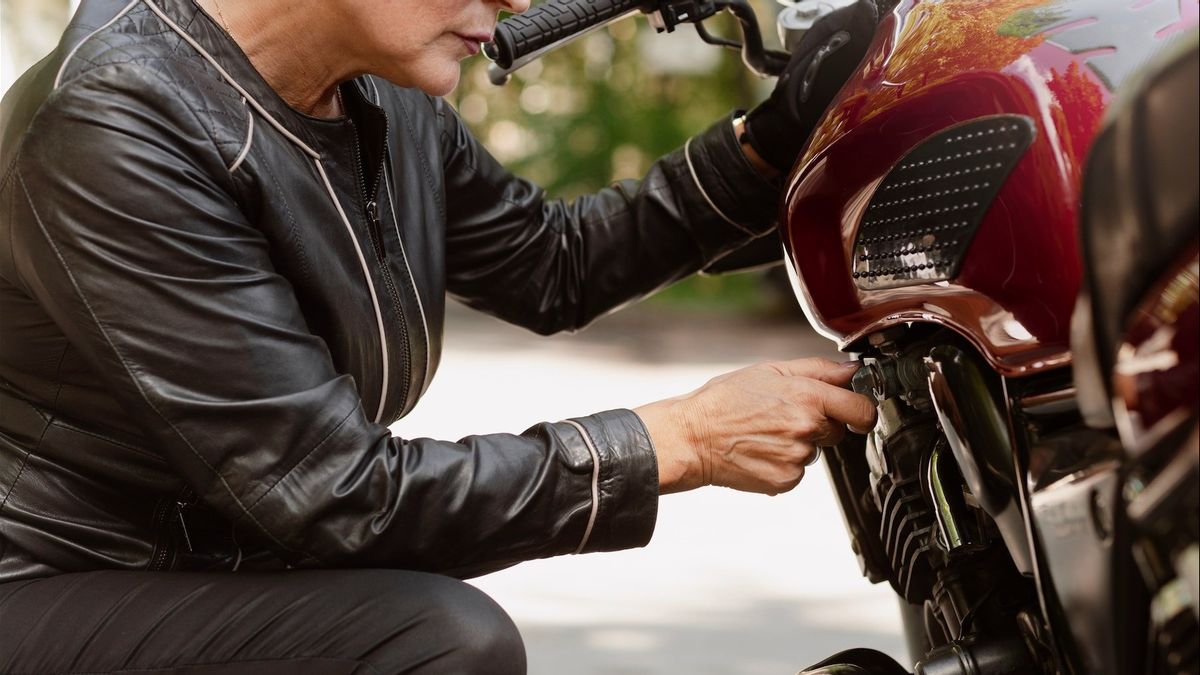
To install a tracker, you need to access your motorcycle battery. Generally, the motorcycle battery is located under the seat, and you need to follow the instructions in the vehicle manual book.
Once you have access to the battery, carefully release the shield from the battery terminal so you can safely connect to the locator cable.
The most important feature is GPS trackers are usually equipped with red and black cables. Connect the red cable to the positive pole (+) battery and black cable to the negative pole (-). Make sure the connection is safe.
Also Read the article that discusses the Best-selling Hybrid Car in Indonesia is Still Dominated by the Brand of A Million People
Clean the surface where you will attach the device by using electrical contact cleaners to ensure that the surface where you will attach a clean locator and free from dirt or oil. This method will ensure better reactivity.
Paste the Velcro gluing strip on the previously cleaned surface. Make sure to stick well and there is no air bubble underneath.
Paste the tracker to the sticker with the side facing up. GPS tracker PAJ generally has one side with the GPS antenna facing up. Press the locator strongly on Velcro in order to stick to its place.
Connect the locator cable to the terminal that you previously connected to the battery. Make sure the connection is strong and there are no concessions.
Once you connect the tracker, check if the GPS indicator light is blue. This means the device receives a GPS signal and is ready to work.
Some GPS trackers may indicate an internet connection with a BLACK green LED light. This means the device is online and can send location data to the tracking platform.
Once you complete the steps above, your GPS tracker will be installed and ready to use. You can set the online tracking platform according to the instructions in the manual to start monitoring your motorcycle's real-time location and make sure it's protected at any time.
Installing GPS tracker on a motorcycle is easy and fun. So and you don't have to be a mechanics to do it.
SEE ALSO:
-
 | BERITA
Prabowo Subianto: Idulfitri Momen Saling Memaafkan dan Mempererat Silaturahmi
31 Maret 2025, 06:01 -
 | MUSIK
Mahir & The ALLIGATORS Suguhkan EP Aku Pulang dengan Beragam Elemen Genre Musik
31 Maret 2025, 02:35

However, if you are confused and feel better asking for mechanical help, do it immediately. Remember that the safety of your motorcycle is a priority number one, and GPS Tracker is very helpful in this regard.
In addition to how to install gps on a motorbike, follow other interesting articles too. Want to know other interesting information? Don't miss it, keep an eye on the updated news from VOI and follow all the social media accounts!
The English, Chinese, Japanese, Arabic, and French versions are automatically generated by the AI. So there may still be inaccuracies in translating, please always see Indonesian as our main language. (system supported by DigitalSiber.id)
Most Popular Tags
#Prabowo Subianto #donald trump #2026 World Cup #Febrie Adriansyah #8791Popular


