

JAKARTA - For those of you who have a job that cannot be separated from email to send invitations to official events, email is definitely one of the most important electronic mail services.
Finding the required email from the pile of incoming emails must be time consuming and tiring for you.
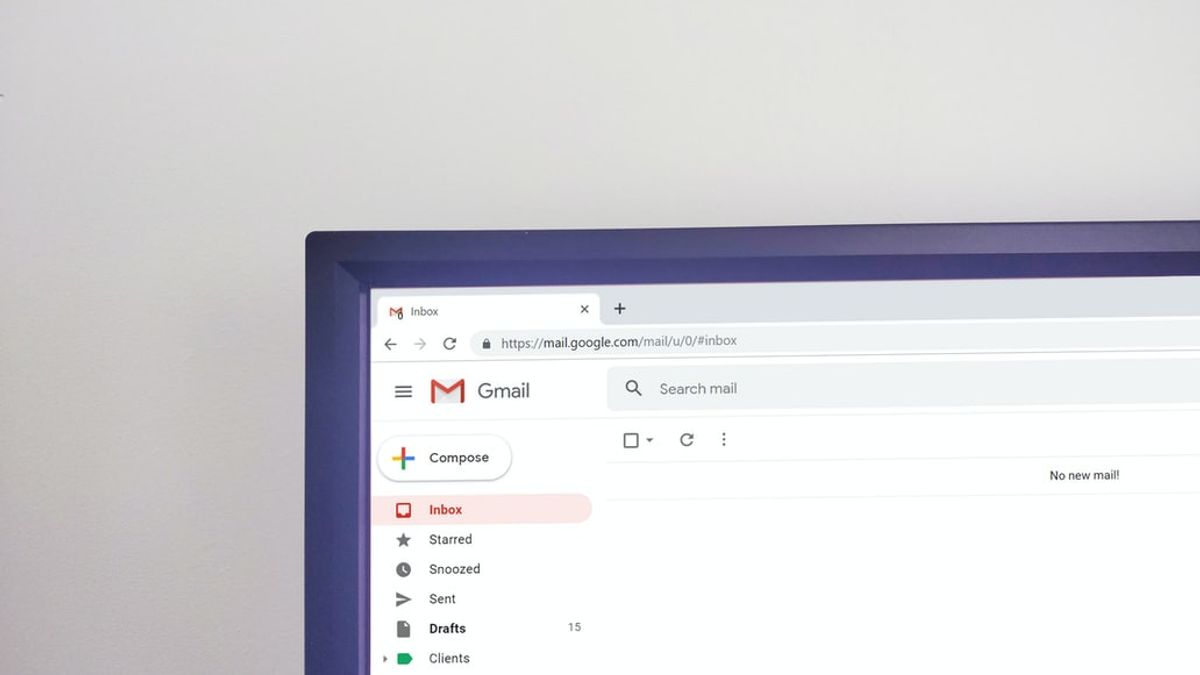
Inboxes can fill up quickly, and become difficult to manage. A good way to organize your emails is to color code them.
So you can track messages the way you want. Below, VOI will cover how to create and use colored labels in Gmail to organize your emails so they're neater and easier to find.
Create LabelTo organize your email, the first thing you need to do is create a label. Follow these steps to continue:
Launch your browser and open your Gmail inbox. Go to the left pane and expand the More section. Scroll down and select Create New Label. In the following dialog, type a name for the label and press the Create button.If these steps don't work for you, you can try to create a new label by going to Gmail settings as below:
In your Gmail inbox, click the gear icon in the top right corner and select See all settings. In the next window, go to the Labels tab and scroll down the window. Click the Create new label button as shown below. Enter a name for the label and press the Create button. Email Color CodeOnce you've created your labels, you can color code them so that the important emails you need stand out more visually from the rest. Here's how:
In your Gmail window, go to the left pane and find the newly created label. Hover over the label and click the three dots that appear next to it. Navigate to Label color and select a color of your choice. You can also create a custom color by clicking Add custom color in the same context menu.The English, Chinese, Japanese, Arabic, and French versions are automatically generated by the AI. So there may still be inaccuracies in translating, please always see Indonesian as our main language. (system supported by DigitalSiber.id)
Tags les plus populaires
#Prabowo Subianto #NCP #Palestine #tangerang sea fence #efesiensi anggaran #iims 2025Populaire